Give Your Hobby a Place to Begin
A small, ready-to-use space can make it easier to return to the work you enjoy.

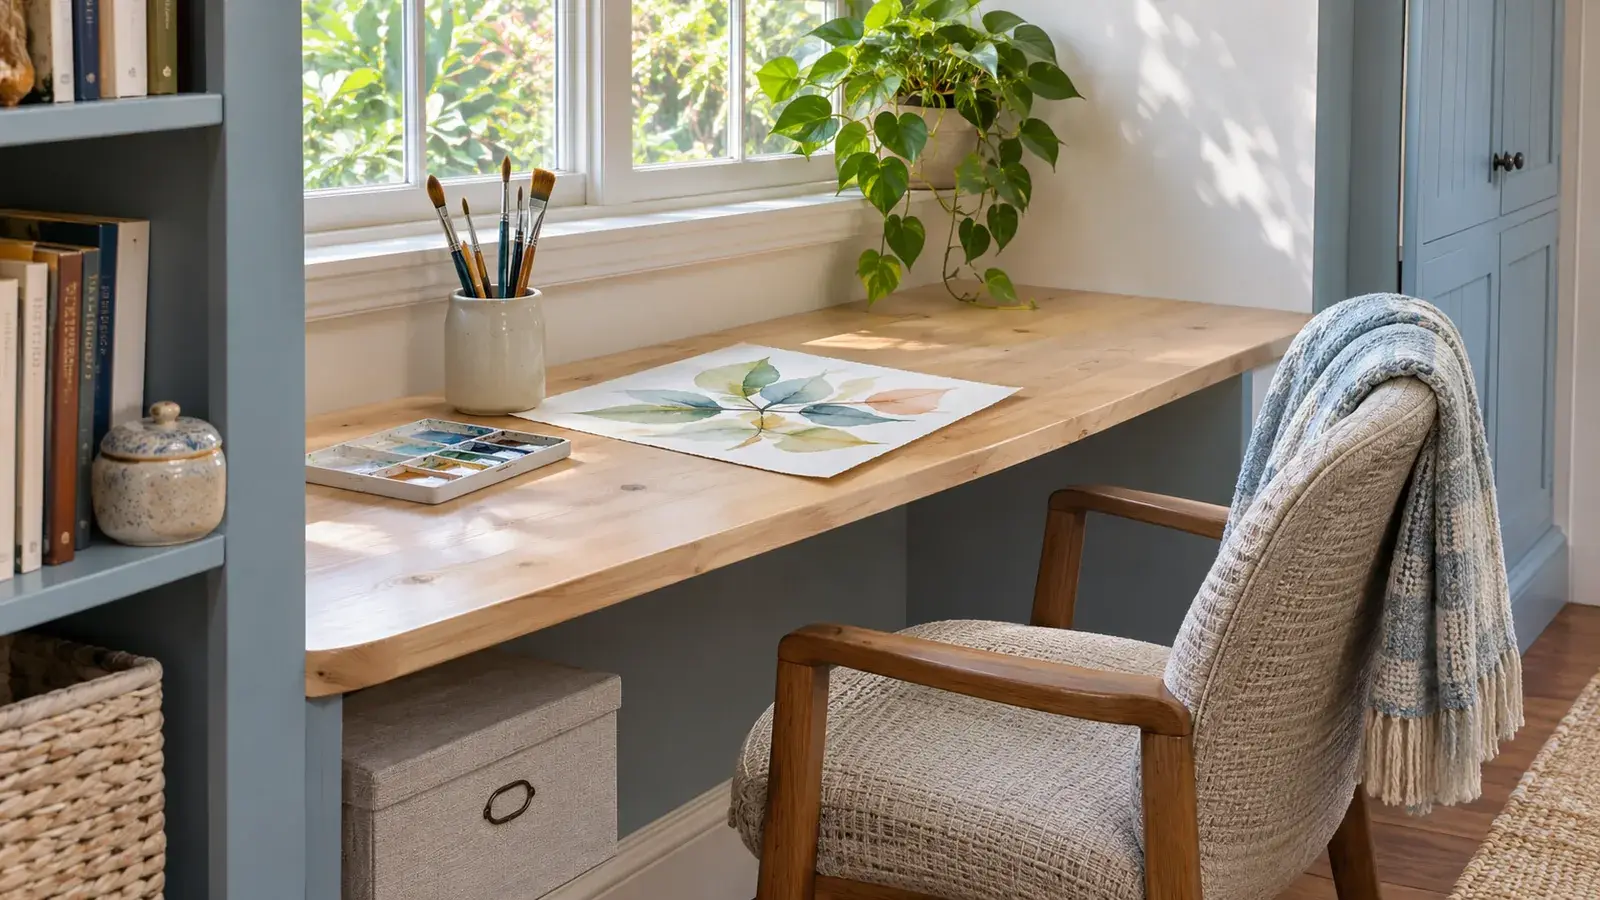
If starting a hobby means clearing the dining table, finding supplies in three rooms, and putting everything away before supper, the preparation can use up the time you meant to spend enjoying it.
A dedicated room would be lovely, but a dedicated arrangement can be enough. The useful question is not how large a hobby space should be. It is what would make your next session easier to begin.
Work backward from one session
Choose the activity you actually do: sketching, sewing, writing, mending, or arranging photographs. Lay out only the materials needed for a modest session. Notice the space they occupy and which things you reach for repeatedly.
A writer may need a clear surface and comfortable light. A sewing project may need room beside the machine so fabric is not constantly falling. A small watercolor study might fit on a board that can be moved when the table is needed.
Do not buy storage before seeing what must be stored. Otherwise, an attractive organizer can become another object that gets in the way.
Give the work a comfortable surface
Try the proposed chair and table together. Can you sit without hunching or reaching awkwardly? Is there enough room for your legs and the materials? Test the light at the hour you are most likely to work.
If the hobby involves sharp tools, heat, fumes, or other hazards, follow the relevant equipment and material instructions. A general craft corner is not automatically suitable for every activity, especially in a shared living space.
Keep commonly used supplies within easy reach and heavier items where you can handle them comfortably. Attractive shelves high on a wall are less useful if every session begins with fetching a step stool.
Plan how to stop halfway through
Many hobbies produce something that cannot simply be stacked away. A tray, project box, or movable board can preserve the arrangement while giving the room back to other uses.
For a shared table, decide where that tray will go before starting. Make sure the storage spot is stable and appropriate for the materials. Keep needles, blades, small parts, and anything hazardous secured away from children or pets who may visit.
A short note can help you resume: “Next: cut the second sleeve,” or “Try a cooler green in the background.” It saves you from reconstructing the whole project when you return.
Separate current work from possible work
Keep one active project in the easiest place to reach. Store materials for future ideas elsewhere. Seeing every unfinished plan at once can turn a pleasant corner into a display of obligations.
The archive’s vintage storage may offer ideas for using familiar containers, but evaluate them by function first. A drawer that opens easily and holds what you need is more helpful than a charming box that must be unpacked completely.
After a few sessions, remove what you have not used and adjust what keeps interrupting you. The space will become personal through the work done there. It does not need to look finished before you are allowed to begin.
Know someone who would enjoy this?